To create a PMP log entry, if the check box is not automatically selected, you will want to be sure and select the Dispensed in Clinic PMP.
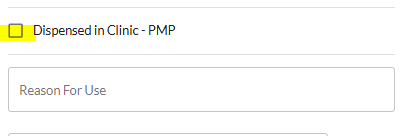
Once selected all required fields will be displayed.
These boxes can be filled out at the time of log creation or later under the PMP Assistant.
To view PMP log entries, select Reporting, and then PMP Assistant on the left hand side of your VetSnap Screen.
If all fields have been filled out within the log, a green Ready for File Generation flag will be displayed.

If the log is missing any information before it can be submitted, a red Missing Information flag will be displayed.
To edit these logs, you will select View Details on the right hand side. Missing information will be displayed in red.
You can choose Edit to update the log information.
Once the logs are ready for file generation, you can select the checkbox next to the entries. You can also do this in bulk by selecting Select All Logs.
You will then choose Generate File.
Once the file has been generated, you will download to your computer and then it is ready to upload to your reporting site.
Please keep in mind that this is a data source file, so it will look funny. This is ok, this is how it will need to be displayed in order to upload to the reporting site correctly.